Logo
  • Balcony Law
  • About us
  • Inspection services
  • FAQ
  • Blog
  • Call us ‪+1 818-806-7885
  • Book now

Tag: structural inspection report checklist

How to Evaluate Structural Inspection Reports for Accuracy

Posted on October 11, 2026 by Apex Balcony admin
How to Evaluate Structural Inspection Reports for Accuracy

Table of Contents

  • Why Evaluating Structural Inspection Reports Matters
  • Step 1: Verify the Inspector’s Credentials and Scope
  • Step 2: Review the Structural Inspection Report Checklist
  • How to Read a Structural Engineering Report
    • Understanding Findings vs. Recommendations
    • Checking Evidence and Measurements
  • Structural Inspection Report Examples and What They Show
  • Balcony Inspection Report Requirements You Must Verify
  • Identifying Gaps and Red Flags in Your Report
  • When to Seek a Second Opinion and How
  • Frequently Asked Questions

Last Updated: October 10, 2026

Why Evaluating Structural Inspection Reports Matters

A structural inspection report is only as valuable as its accuracy. You’re relying on it to protect your residents, manage your liability, and guide repair decisions that could cost tens of thousands of dollars. Yet many property owners and HOA boards accept reports without verification, sometimes because they lack the knowledge to question them, sometimes because they trust the inspector’s credentials without checking the work.

This matters because structural integrity directly affects building safety. A missed defect could mean the difference between a preventable repair and a catastrophic failure.

Evaluating structural inspection reports for accuracy isn’t about second-guessing the inspector. It’s about verifying that the report you’re paying for actually delivers what it promises: a complete, evidence-backed assessment of your property’s condition. This guide walks you through exactly how to do that.

Step 1: Verify the Inspector’s Credentials and Scope

Before you even open the report, confirm who performed the inspection and whether they’re qualified to do so.

Check the inspector’s license. Structural inspections in California require a licensed structural engineer or a qualified building inspector. Verify their license number with the California Department of Consumer Affairs. A valid license is non-negotiable.

Review the scope statement. Every structural inspection report should clearly define what was inspected and what was not. Look for a dedicated “Scope” or “Limitations” section. It should specify:

  • Which building components were examined (foundation, columns, beams, balconies, decks, stairways)
  • Which were excluded and why
  • Whether the inspection was visual only or included invasive testing
  • Any areas the inspector couldn’t access

A vague scope is a red flag. If the report says “general structural assessment” without detail, you don’t know what you’re actually paying for.

Confirm compliance requirements apply. If your property is in California and has three or more residential units, SB 326 and SB 721 likely apply. The report should state which standard governs the inspection. If it doesn’t mention either, ask the inspector directly before signing off.
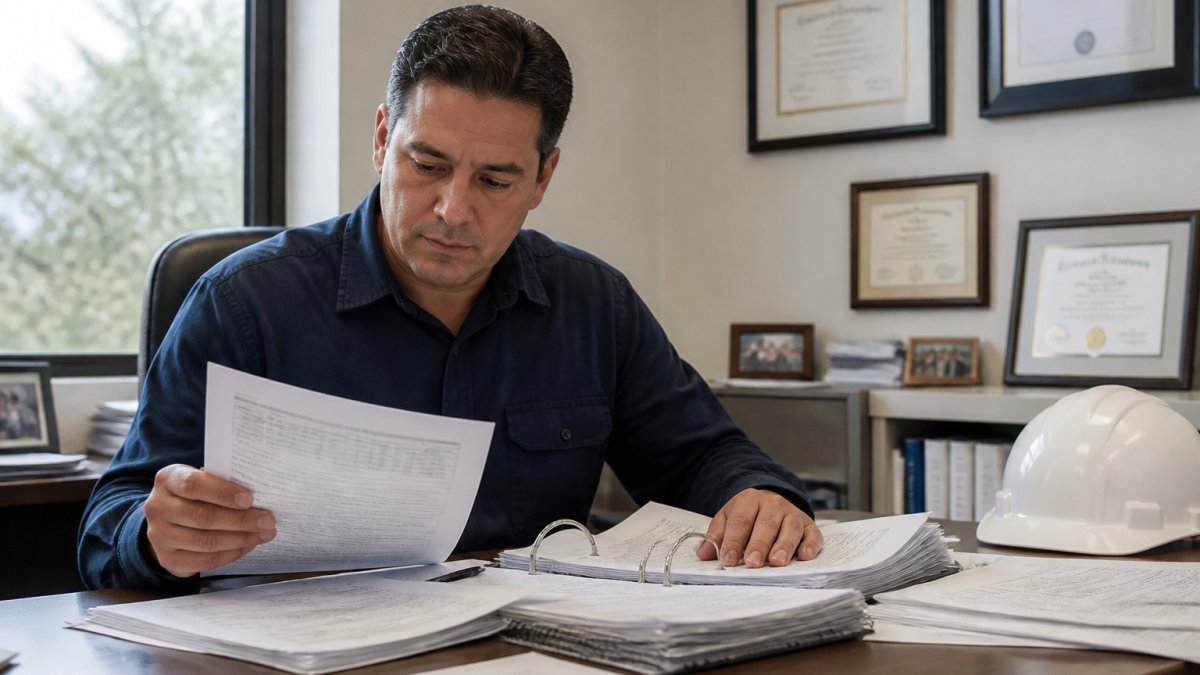
Professional inspector reviewing building documentation and credentials at desk with California license verification materials visible

Step 2: Review the Structural Inspection Report Checklist

A complete structural inspection report follows a logical structure. Use this checklist to verify nothing is missing.

Report essentials to verify:

  • Inspector name, license number, and firm name
  • Property address and inspection date
  • Clear statement of scope and limitations
  • Summary of findings organized by building component
  • Photographs with captions and location references
  • Measurements and calculations where relevant
  • Recommendations for repair or further investigation
  • Statement of professional liability insurance

If any of these elements are missing, the report is incomplete. Incomplete reports leave you exposed, if a defect isn’t documented and later causes injury or damage, you can’t prove you had professional guidance to address it.

Check for internal consistency. Read the summary first, then flip through the detailed sections. Do the findings match? If the summary says “no structural defects found” but the detailed sections describe cracking, efflorescence, or water damage, something is wrong. The report should tell the same story throughout.

Verify that recommendations are supported. Every recommendation should trace back to a specific finding. If the report recommends balcony repairs, it should show photographs and describe the damage that led to that conclusion. Recommendations without supporting evidence are opinions, not professional assessments.

How to Read a Structural Engineering Report

Reading a structural engineering report requires understanding what you’re looking at: findings versus recommendations, evidence versus interpretation, and what measurements actually mean.

Understanding Findings vs. Recommendations

A finding is what the inspector observed. A recommendation is what they suggest you do about it.

Findings are factual: “Concrete spalling observed on the south-facing column, approximately 2 inches deep, covering an area of 18 square inches.” That’s measurable and verifiable.

Recommendations are professional judgment: “Repair concrete spalling with epoxy injection and protective coating.” That’s advice based on the finding.

The distinction matters because recommendations can vary. Two inspectors might see the same spalling and recommend different repair methods. Understanding what was actually found helps you evaluate whether different recommendations make sense.

Checking Evidence and Measurements

Every significant finding should include three things: a photograph, a measurement, and a location reference.

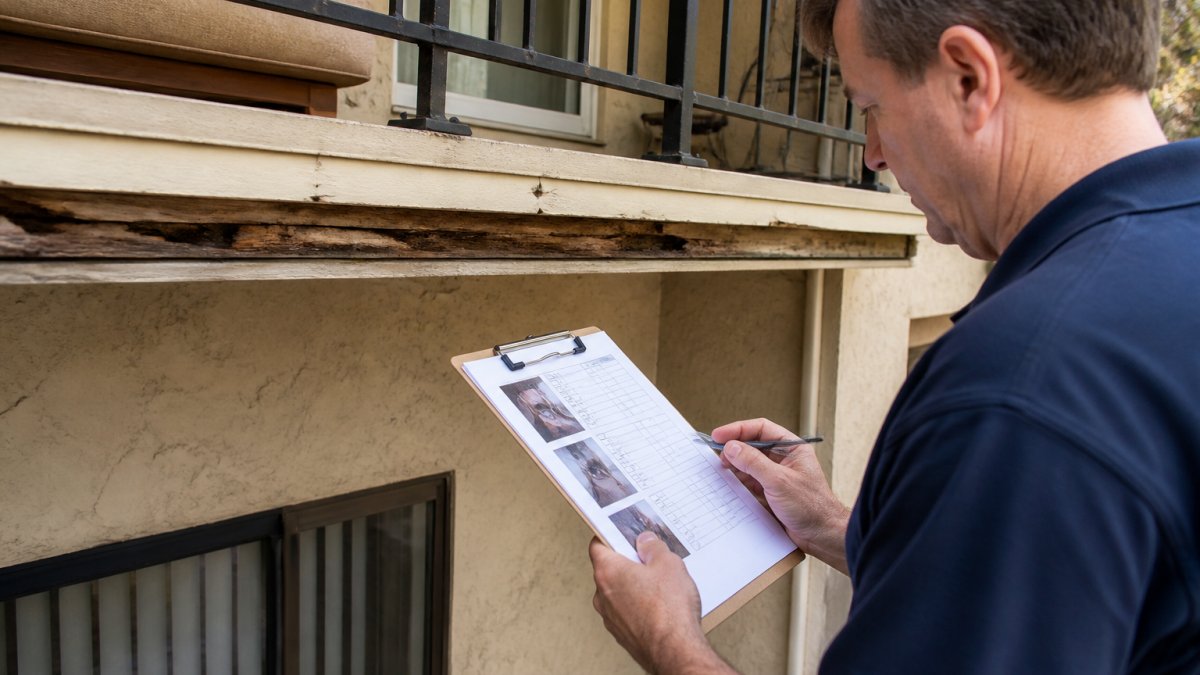
Photographs must be clear and labeled. The photo should show the defect in context, not so close that you can’t see where it is on the building, not so far that you can’t see the damage clearly.

Measurements must be precise. Vague descriptions like “significant cracking” or “minor water damage” aren’t useful. Precise measurements are: “horizontal crack, 0.5 inches wide, 8 feet long, running across the west wall at 6 feet above floor level.” Measurements let you track whether a defect is stable or growing over time.

Location references must be specific. “Damage observed” is useless. “Damage observed on Unit 304 balcony, southeast corner, underside of deck beam” is actionable. You need to know exactly where to look when you verify the finding yourself.

If photographs are blurry, measurements are missing, or locations are vague, you can’t verify the findings. That’s a problem.

Pro Tip
Walk the property with the report in hand. Stand in front of each photographed defect and confirm it matches the description. If you can’t find what the report describes, or if it looks different than the photo, that’s a discrepancy worth investigating.

Structural Inspection Report Examples and What They Show

Real examples help you recognize what accurate reporting looks like, and what it doesn’t.

Book inspection →

Example 1: Foundation settling. A complete report on foundation movement includes photographs of the foundation from multiple angles, measurements of visible cracks (width, length, angle of propagation), and a note about whether cracks are active (growing) or dormant. It describes whether settling appears uniform or concentrated in one area.

Example 2: Balcony deterioration. A thorough report on balcony condition documents concrete spalling, corrosion of rebar, water damage to ledgers, and wood rot separately. It measures each defect.

Example 3: Structural cracks. The best reports distinguish between settlement cracks (common, often not serious), structural cracks (concerning), and cosmetic cracks (minor). They include measurements and photographs showing crack width, length, and pattern. They explain what the crack pattern suggests about the underlying cause. A poor report treats all cracks the same.

Balcony Inspection Report Requirements You Must Verify

Balconies and decks fall under specific safety requirements in California. Your inspection report should address these directly.

SB 326 and SB 721 compliance. If your property is subject to these laws, the report should explicitly state which standard was applied and whether the inspection met those requirements.

Structural attachment verification. The report must confirm how the balcony connects to the building structure, bolted, welded, or embedded. It should verify that connections are secure and show no signs of movement or corrosion.

Waterproofing assessment. Water intrusion is the leading cause of balcony failure. The report should describe the condition of flashing, sealants, and drainage. It should note any signs of water damage: staining, efflorescence, soft concrete, or rust bleeding from rebar.

Railing and safety features. The report should confirm that railings meet current code (typically 42 inches minimum height, 4-inch sphere rule for balusters). It should note any loose or damaged components.

If your balcony report doesn’t address these elements, it’s incomplete. Ask the inspector why before you accept it.

Watch Out
A balcony inspection that doesn’t verify waterproofing integrity is missing the single most important assessment. Water damage is progressive, it gets worse over time. If the report doesn’t address it, you’re flying blind.

Identifying Gaps and Red Flags in Your Report

Some problems with inspection reports are obvious. Others are subtle but critical.

Red flags to watch for:

  • No photographs or only generic photos that could apply to any building
  • Measurements missing or vague (“appears to be” instead of specific dimensions)
  • Findings listed without supporting evidence or explanation
  • Recommendations that don’t match the findings described
  • Scope so narrow that major components aren’t covered
  • No statement of professional liability insurance or qualifications
  • Report dated more than 12 months before you received it (inspections can change quickly)
  • Language that’s overly cautious (“may require,” “could potentially need”) without committing to a finding

The most dangerous gap is missing evidence. If the report recommends a $50,000 repair but provides no photographs, measurements, or explanation of why, you can’t verify the recommendation. You’re forced to either trust blindly or hire another inspector, which costs more money and delays the work.

Another critical gap is scope creep, the report claims to assess “structural integrity” but only looks at visible surfaces. Structural integrity requires understanding what’s underneath: rebar condition, concrete strength, connection details. Visual-only inspections miss these.

When to Seek a Second Opinion and How

Sometimes the report raises questions you can’t answer alone. That’s when a second opinion makes sense.

Get a second opinion if:

  • The report recommends major repairs but provides minimal evidence
  • You find discrepancies between the report’s descriptions and what you see on site
  • The scope seems incomplete for your property type
  • You’re uncertain whether the inspector understood your specific compliance requirements
  • Multiple inspectors have given you conflicting findings

How to request a second opinion professionally:

Contact another licensed structural engineer or qualified inspector. Provide them with the first report and ask them to review it for completeness and accuracy. A second opinion doesn’t require a full re-inspection, it’s a professional review of the first report’s methodology and conclusions.

Be specific about what you’re questioning. Don’t ask for a second opinion on everything; focus on specific findings or recommendations that concern you. This saves money and gets you a faster answer.

Expect to pay for this. A professional review of an existing report typically costs less than a full inspection but more than nothing. It’s worth the investment if it resolves a major discrepancy or confirms that a large repair is necessary.

Key Takeaway
The goal of evaluating a structural inspection report isn’t to become an engineer. It’s to verify that the professional you hired actually did the work, documented it properly, and reached conclusions supported by evidence. If you can’t trace a recommendation back to a specific, measurable finding, push back and ask why.

A structural inspection report guides some of the most expensive decisions you’ll make as a property owner or HOA board. Accepting a report without verification puts your residents at risk and exposes you to liability.

Frequently Asked Questions

What should a structural inspection report include?

A complete structural inspection report must document the inspection scope, inspector credentials, photographs of all structural elements examined, precise measurements, visible damage assessment, moisture and water-related findings, foundation condition notes, and clear recommendations for remediation or further investigation. The report should include the inspection date, property address, and reference to applicable codes or standards. Missing sections, especially photographs, measurements, or evidence supporting conclusions, indicate an incomplete report that may not hold up under audit or legal review.

How do you know if a structural inspection report is accurate?

Verify accuracy by comparing the report’s findings against the actual property. Walk the building with the report in hand and confirm that documented damage matches what you observe. Check that measurements are realistic and that photographs clearly support each finding. Review whether the inspector examined all required elements per SB 326 or SB 721 standards. Look for internal consistency: do recommendations logically follow from the findings? Red flags include vague language, missing evidence, or conclusions that lack supporting data. When in doubt, request a second opinion from an independent structural engineer.

What happens if a structural inspection report misses something critical?

A missed structural defect can lead to liability exposure, regulatory fines, and safety risks to residents. If damage worsens after inspection and was not documented, property owners may face claims for negligent inspection. This is why verifying report completeness and accuracy upfront is essential. Ensure the inspector’s scope covered all elevated exterior elements, balconies, decks, stairs, railings, and that photographs and measurements support every finding. If you discover gaps after the inspection, contact the inspector immediately and consider obtaining a second opinion from a licensed structural engineer before proceeding with repairs.

Should you get a second opinion on a structural inspection report?

A second opinion is advisable when findings are unclear, recommendations differ significantly from other quotes, or repair costs are unexpectedly high. Multiple inspectors examining the same property may identify different priorities or severity levels, especially if they focus on different elements or use different assessment methods. For properties subject to SB 326 or SB 721 compliance, a second structural engineer review provides confidence that the report will withstand regulatory scrutiny. Independent review also protects you if the original inspector’s conclusions are later challenged or if repair contractors dispute the findings.
Book inspection

Posted in BlogTagged evaluating structural inspection reports for accuracy, how to read a structural engineering report, structural inspection report checklist, structural inspection reports

Hiring Structural Engineers for Inspections: 2026 Guide

Posted on September 11, 2026 by Apex Balcony admin
Hiring Structural Engineers for Inspections: 2026 Guide

Table of Contents

  • When to Hire a Structural Engineer for an Inspection
    • SB 326 and SB 721 Triggers for Multi-Unit Buildings
    • Warning Signs That Justify a Site Investigation
  • Home Inspector vs. Structural Engineer: What’s the Difference?
  • SB 326 Balcony Inspection Requirements Every HOA Board Should Know
  • How to Find and Vet a Qualified Professional Engineer (PE)
    • Verifying Licensure and Insurance Before You Sign
    • Red Flags in Engineer Contracts
  • Structural Inspection Report Checklist: What Your Report Must Include
    • Post-Inspection Remediation Roadmap
    • Insurance and Liability Implications
  • Structural Engineering Services Cost: What Drives the Fee
    • The Four Cost Drivers
    • What Keeps the Fee Reasonable
    • What Pushes the Fee Up
    • How to Compare Two Proposals
  • After the Inspection: Remediation, Insurance, and Liability
    • Post-Inspection Remediation Roadmap
    • Insurance and Liability Implications
  • Frequently Asked Questions

Last Updated: September 11, 2026

When to Hire a Structural Engineer for an Inspection

Hiring structural engineers for inspections means bringing a licensed professional engineer onto a property to evaluate the load-bearing capacity, framing, and foundation of elevated or aging structures before they fail.

A common mistake is assuming a contractor’s repair quote counts as an evaluation. Contractors price work; engineers determine whether the structure is safe and what the building code requires.

SB 326 and SB 721 Triggers for Multi-Unit Buildings

Two California statutes force the issue for most multi-unit properties. SB 326 requires HOAs to have balconies, decks, stairways, and other elevated exterior elements inspected by a licensed structural engineer on a recurring cycle (leginfo.legislature.ca.gov). SB 721 applies to apartment buildings of three or more units and requires similar inspections (leginfo.legislature.ca.gov).

If your building falls under either law, the trigger is the calendar, not a visible crack.

Warning Signs That Justify a Site Investigation

Get an engineer on site when you notice any of the following:

  • Settlement cracks wider than a hairline, especially at the base of posts or where a balcony meets the wall
  • Rust staining, bubbling paint, or soft spots on a concrete surface
  • A railing that flexes or moves when pushed
  • Water pooling near footings or evidence of poor grading and drainage
  • Sagging or springy deck surfaces
Watch Out
Ignoring a soft spot or flexing railing is how minor water intrusion becomes a structural failure. By the time a surface visibly deflects, the framing underneath has usually been compromised for years.

Home Inspector vs. Structural Engineer: What’s the Difference?

A home inspector documents general condition for a buyer. A structural engineer analyzes specific load paths and issues a sealed opinion on whether a structure is safe and code-compliant.

That distinction matters legally. A home inspection report carries no engineering certification and won’t satisfy SB 326 or SB 721. Only a licensed professional engineer (PE) can stamp a report a building department or court will accept (ncees.org).

If you’re buying a property with elevated exterior elements, treat the home inspection as a starting point, not a verdict.

SB 326 Balcony Inspection Requirements Every HOA Board Should Know

SB 326 balcony inspection requirements are specific, and boards get tripped up on the details more than the deadline. The law requires inspection of balconies, decks, stairways, and other elevated exterior elements by a licensed structural engineer, with findings reported to the board and membership.

Three things boards consistently miss:

  1. The inspection is not a one-time event. It recurs on a statutory cycle.
  2. The engineer’s report must be distributed, not just filed.
  3. Repairs identified in the report create a documented obligation. Ignoring them shifts liability squarely onto the board.
Pro Tip
Ask your engineer to flag which findings are safety-critical versus cosmetic before the report is finalized. Boards that get this split upfront can sequence repairs against their reserve fund instead of panicking over the full list.

How to Find and Vet a Qualified Professional Engineer (PE)

Finding a qualified structural engineer starts with licensure verification, not price shopping. Any engineer you hire should hold an active PE license in the state where the building sits, confirmed independently before you sign anything.

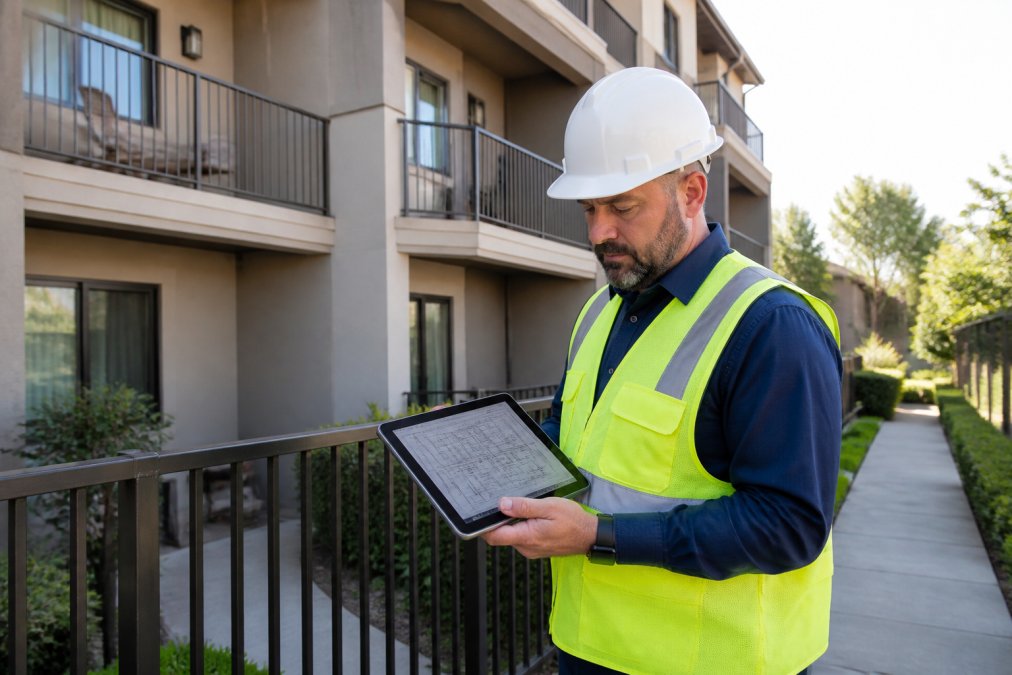
A licensed structural engineer in a hard hat and safety vest reviewing balcony construction drawings on a tablet while standing on a residential walkway, with a multi-unit building visible behind him

The best candidates combine design experience with field inspection work. Someone who has only drafted structural drawings may struggle to read what a weathered balcony is telling them.

Verifying Licensure and Insurance Before You Sign

Before you commit, confirm three things: an active PE license, professional liability coverage, and general liability coverage. Ask for the certificates directly. A reputable engineer provides them without hesitation.

Red Flags in Engineer Contracts

Watch for these in any proposal:

  • No named engineer on the contract, only a firm
  • Vague scope that doesn’t specify which elements get inspected
  • No mention of what the report will and won’t cover
  • Pressure to bundle inspection with a specific contractor’s repairs
  • Refusal to provide proof of insurance
Key Takeaway
The scope language in the contract determines what you actually get. If it doesn’t name the specific elements, inspection method, and deliverable, you’re buying an open-ended promise.

Structural Inspection Report Checklist: What Your Report Must Include

A structural inspection report checklist keeps you from accepting a thin document. The real value is knowing what each item should contain and what to do with it. Here is the checklist with the substance behind each line.

  • Engineer’s name, license number, and signature or seal. The seal is what makes the report legally meaningful. A report without a seal is an opinion, not an engineering document, and it will not satisfy a building department, an insurer, or a court.
  • Date and scope of the site visit. The scope statement should name every element inspected and, just as important, every element excluded. If the report is silent on what was not inspected, assume nothing was.
  • Description of each element inspected. Balconies, decks, stairways, railings, and their attachment points should each be listed individually. A blanket statement like “elevated exterior elements were reviewed” is not a description.
  • Findings organized by severity. Look for a clear split between safety-critical, repair-needed, and monitor-only findings. If everything is listed at the same priority, the report is not telling you what to fix first.
  • Photographic documentation of each issue. Photos should be dated and tied to a specific finding. Undated photos with no location reference are hard to act on later.
  • Recommended remediation for each finding. Recommendations should be specific enough that a contractor can bid from them, not “repair as needed,” but the element, the method, and the standard the repair must meet.
  • Clear statement of what was not inspected. This protects both you and the engineer, and it tells you where the next inspection scope should expand.

If any of these are missing, ask for a revised report before you pay.

Post-Inspection Remediation Roadmap

Most guides end at the report. The report is the beginning of the work, not the end, and the sequence matters as much as the repairs themselves.

  1. Triage findings by severity. Separate safety-critical items from repair-needed and monitor-only items. Safety-critical findings should be addressed before anything cosmetic, even if the cosmetic items are more visible.
  2. Get engineering-reviewed repair scopes. Have the engineer translate each finding into a written scope that contractors can bid against. This is the single most effective way to prevent contractors from bidding different jobs and producing incomparable numbers.
  3. Sequence repairs against your budget and any statutory deadlines. If your building falls under a recurring inspection cycle, the repair timeline may be tied to the next reporting date. Build the schedule backward from that date.
  4. Document everything. Photos before, during, and after each repair. Retain the engineer’s report, the contractor bids, and the closeout documentation together. If a claim ever arises, this file is your defense.
  5. Schedule the next inspection before the current cycle closes. The next cycle starts the day the current one ends. Putting it on the calendar now prevents the gap that creates liability.

Insurance and Liability Implications

A sealed engineering report is your strongest defense if an incident occurs; failing to act on a report you commissioned does the opposite, and insurers and plaintiffs treat documented, ignored findings as negligence. A clean report can support a favorable insurance renewal and, in some cases, a premium credit for documented maintenance. A report with unaddressed safety-critical findings can become the centerpiece of a liability claim, because the owner had written notice and chose not to act. The Berkeley balcony collapse in 2015 and the Malibu collapse in 2021 both reshaped how courts and carriers view owner responsibility for elevated exterior elements. The lesson is consistent: documented awareness without action is worse than no inspection at all.

Book inspection →

If your report identifies a safety-critical finding, do not wait for the next inspection cycle to act. The report itself creates a record of notice, and that record is what insurers and plaintiffs will point to if something fails.

The report is a liability document as much as a maintenance document. Treat the remediation roadmap and the insurance file as part of the same deliverable, not as separate afterthoughts.

Structural Engineering Services Cost: What Drives the Fee

Structural engineering services cost is not a flat rate, and any engineer who quotes one without seeing the property is guessing. The fee is built from four inputs: the number of elevated elements in scope, the access conditions at each one, the depth of reporting required, and whether follow-up site visits are included. Understanding those inputs lets you compare proposals on equal footing.

The Four Cost Drivers

1. Element count and type. A single balcony on a two-story building is a different engagement than forty walkways across three buildings. Engineers typically price per element or per building, so the count is the first thing that moves the number. Stairways and railings are usually bundled with adjacent balconies; detached structures are often priced separately.

2. Access conditions. A ground-floor patio can be inspected from grade. A fourth-floor balcony with no adjacent roof access may require a lift, rope access, or tenant coordination. Each adds labor, scheduling complexity, and sometimes equipment rental. Buildings with locked units or no tenant cooperation cost more because the engineer has to return.

3. Depth of reporting. A visual condition assessment is the baseline. A report with moisture readings, probe openings, or destructive testing costs more because it takes longer on site and generates more documentation. If your building authority or HOA attorney expects a specific format, say so upfront, reformatting after the fact is billed as a second deliverable.

4. Follow-up visits. Findings that require a second look (a soft spot that needs a probe, a repair that needs verification) are typically billed as additional site visits. Ask whether the proposal includes a set number of follow-ups or bills them hourly.

What Keeps the Fee Reasonable

A tight scope is the single biggest lever. Naming the specific elements, inspection method, and deliverable format in the contract prevents the engineer from padding the proposal defensively. Batching multiple buildings into one mobilization also reduces per-building cost.

What Pushes the Fee Up

  • Multi-building portfolios with staggered access windows
  • Historic or non-standard construction that requires research into original drawings
  • Limited access requiring lifts, rope access, or after-hours scheduling
  • Findings that trigger structural calculations or repair design as a separate scope
  • Rush timelines that force the engineer to reshuffle other work

Ask for a proposal that breaks the fee into site visit, report, and any optional follow-up. A single lump sum hides which line item is driving the number, and it makes it harder to negotiate scope down if the budget is tight.

How to Compare Two Proposals

Two engineers can quote very different numbers for the same building because they scoped different work. Before you compare, line up three things: the elements each proposal covers, the inspection method, and the deliverable. A lower quote that inspects half the elements or delivers a letter instead of a sealed report is not a lower price, it is a smaller job.

Direct any pricing question to Apex Balcony for a property-specific quote.

After the Inspection: Remediation, Insurance, and Liability

Post-Inspection Remediation Roadmap

  1. Triage findings by severity, separating safety-critical items from cosmetic ones.
  2. Get engineering-reviewed repair scopes so contractors bid against the same specification.
  3. Sequence repairs against your reserve fund and statutory deadlines.
  4. Document everything, including photos before, during, and after.
  5. Schedule the next inspection before the current cycle closes.

Insurance and Liability Implications

The Berkeley balcony collapse in 2015 and the Malibu collapse in 2021 both reshaped how courts and carriers view owner responsibility for elevated exterior elements. The lesson is consistent: documented awareness without action is worse than no inspection at all.


Owners who delay inspections usually do so because they fear the repair number. The better move is to get a clear, engineered picture of your building now, while you still control the timeline. Apex Balcony provides licensed balcony inspectors with decades of combined construction and design experience, specialized SB 326 and SB 721 compliance expertise, and a comprehensive review of every elevated exterior element, from balconies and decks to stairways. Get started with Apex Balcony and turn an unknown liability into a documented, manageable plan.

Frequently Asked Questions

When is it necessary to hire a structural engineer for an inspection?

You need a structural engineer when a balcony, deck, or stairway shows warning signs such as settlement cracks, sagging, or separation from the building, or when SB 326 or SB 721 requires an inspection. California law mandates inspections for multifamily buildings with three or more units. A licensed PE can assess structural integrity, load path, and framing that a general contractor cannot legally certify.

How much does a structural engineer inspection cost?

Pricing depends on building size, number of elevated elements, access requirements, and whether destructive testing is needed. Apex Balcony does not publish flat rates because every property is different. Request a quote based on your unit count and balcony inventory. Compare bids on scope, not just price: a low quote that skips load-bearing wall checks or omits a stamped report may cost more later.

What should I look for in a structural engineer’s report?

A complete structural inspection report checklist includes the engineer’s PE license number and signature, date and scope of the site visit, photographs of every inspected element, structural analysis notes, load path evaluation, building code compliance findings, and a clear remediation roadmap. The report should also list any limitations or areas not inspected. If it lacks a stamped certification, it will not satisfy SB 326 or hold up in a building department audit.

Are structural inspections required for multi-family buildings?

Yes. SB 326 requires HOAs to inspect balconies, decks, stairways, and other elevated exterior elements by January 1, 2025, and every nine years after. SB 721 applies to apartment buildings with three or more units. Both laws require a licensed professional engineer or architect to perform the inspection and issue a stamped report. Missing the deadline exposes the owner or HOA to liability and potential fines.

Book inspection

Posted in BlogTagged hiring structural engineers for inspections, sb 326 balcony inspection requirements, structural engineering services cost, structural engineers, structural inspection report checklist

Recent Posts

  • Signs Your Apartment Deck Needs Professional Waterproofing
  • 15% Sampling Rule for Balconies: A Complete Guide
  • How to Evaluate Structural Inspection Reports for Accuracy
  • Balcony Waterproofing and Structural Integrity
  • Cost of Balcony Structural Repairs in California

Recent Comments

No comments to show.

Archives

  • October 2026
  • September 2026
  • August 2026
  • July 2026
  • June 2026

Categories

  • Blog
Logo
Created by Unilime.Group
  • Balcony Law
  • About us
  • Inspection services
  • FAQ
  • Blog

Call us ‪+1 818-806-7885‬
License: CSLB #1101305

Apex Balcony Inspection
‪+1 818-806-7885‬
[email protected]
4645 Van Nuys Blvd #201
Sherman Oaks CA 91403

Created by Unilime.Group