How to Minimize Balcony Inspection Damage
Minimize balcony inspection damage: Protect your property during balcony inspections. Learn non-destructive testing methods, preparation steps, and repair.
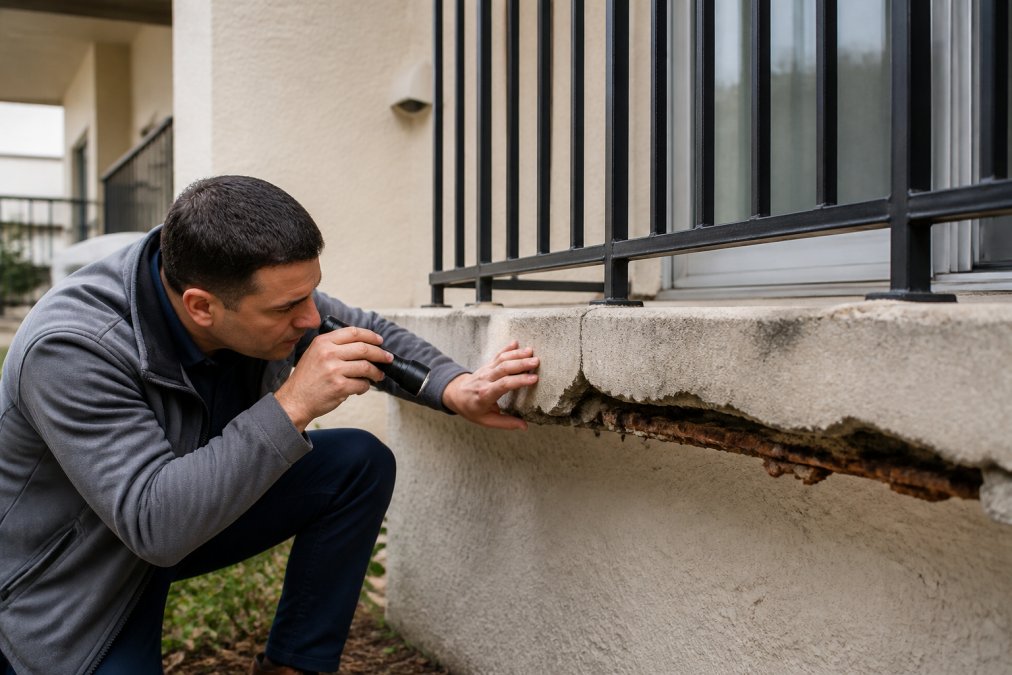
Table of Contents
- Why Balcony Inspection Damage Happens
- Preventative Balcony Maintenance Before Inspection
- Building a Balcony Inspection Checklist
- Understanding the Invasive Balcony Inspection Process
- DIY vs. Professional Inspection: When to Call Experts
- Post-Inspection Repair Protocols and Liability Protection
- Compliance Standards and Your Inspection Rights
- Conclusion
Last Updated: August 16, 2026
Why Balcony Inspection Damage Happens
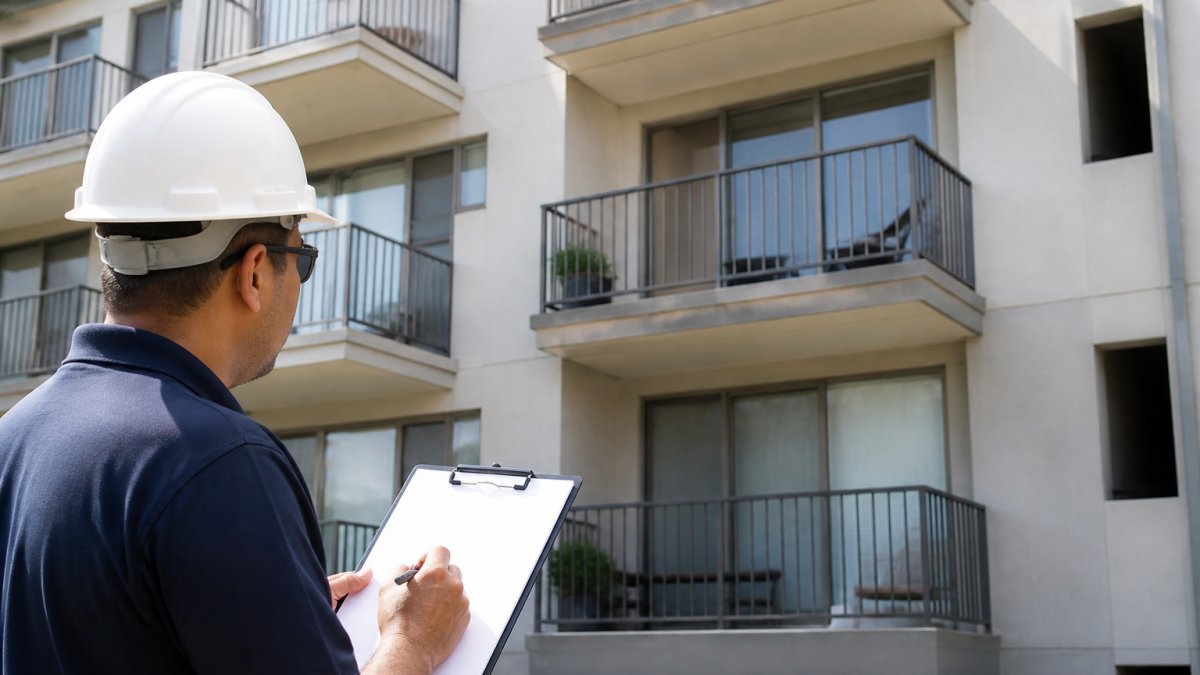
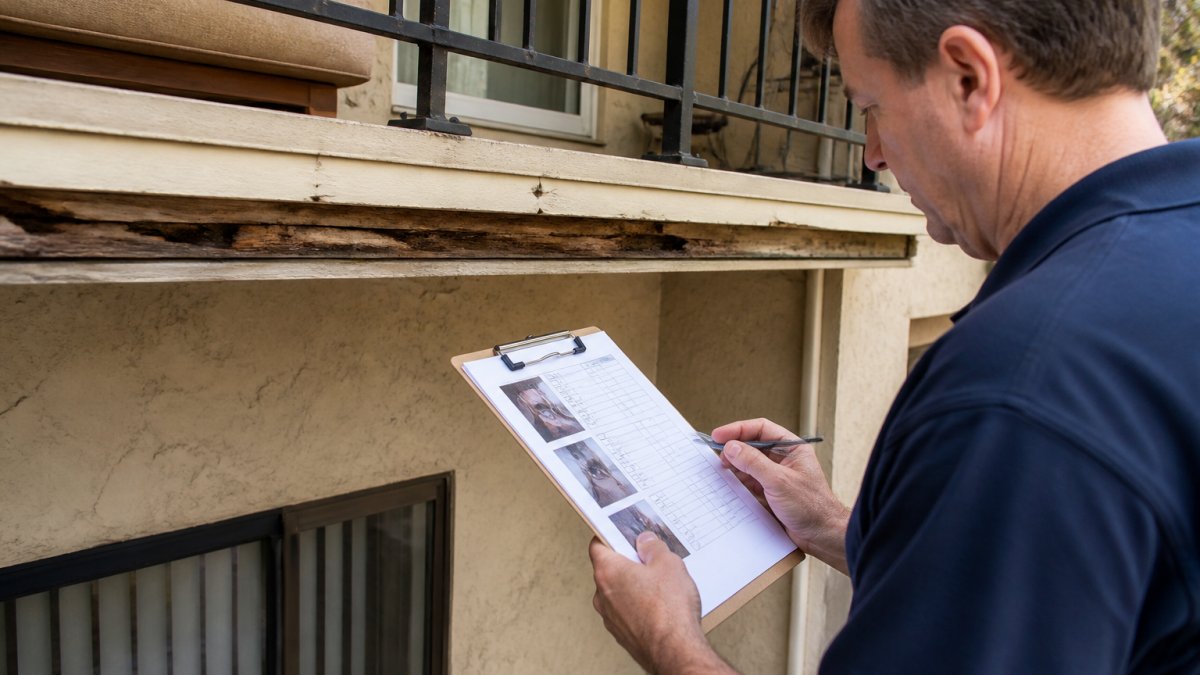
Balcony inspections are mandatory for property safety, but they often leave your building looking damaged. Thorough structural assessment requires inspectors to probe, test, and sometimes remove protective coverings to check for hidden wood rot, corrosion, and moisture intrusion. When inspectors use moisture meters and infrared thermography, they expose framing and flashing that’s normally hidden, creating opportunities for water damage and debris accumulation if you don’t manage the process carefully.
The irony is that the inspection itself, designed to protect residents, can introduce new problems if the property owner isn’t proactive. Exposed framing dries unevenly. Removed sealants aren’t always replaced properly. Debris collects in crevices. At Apex Balcony, we’ve guided hundreds of property owners through this reality: the best way to minimize balcony inspection damage is to control what happens before, during, and immediately after the inspector leaves.
The stakes are real. A single balcony collapse can kill. The 2015 Berkeley incident killed six people. That’s why California’s SB 326 and SB 721 require regular inspections. But compliance doesn’t mean accepting preventable damage to your building in the process.
Preventative Balcony Maintenance Before Inspection
Your first line of defense is showing up prepared. A well-maintained balcony requires less invasive testing. An inspector who can visually confirm structural integrity without extensive probing will spend less time removing protective materials and exposing vulnerable areas.
Start with the basics: clear all debris from the balcony surface, railings, and drainage areas. Remove planters, furniture, and anything else that blocks access. Next, document the current condition with photographs from multiple angles. This photographic record proves what condition the balcony was in before the inspector arrived and gives you a baseline to compare against after the inspection.
Structural integrity checks you can perform
Look for visible signs of wood rot, soft spots, discoloration, or areas where a screwdriver sinks into the wood. Check railings for movement by applying firm pressure, railings should not shift. Examine flashing seams for gaps, separation, or corrosion. Check concrete for spalling, the flaking or scaling of the surface that exposes the substrate beneath. Look at sealants around penetrations and edges. Cracked, missing, or pulling sealants are invitations for moisture intrusion, the primary driver of structural failure in balconies.
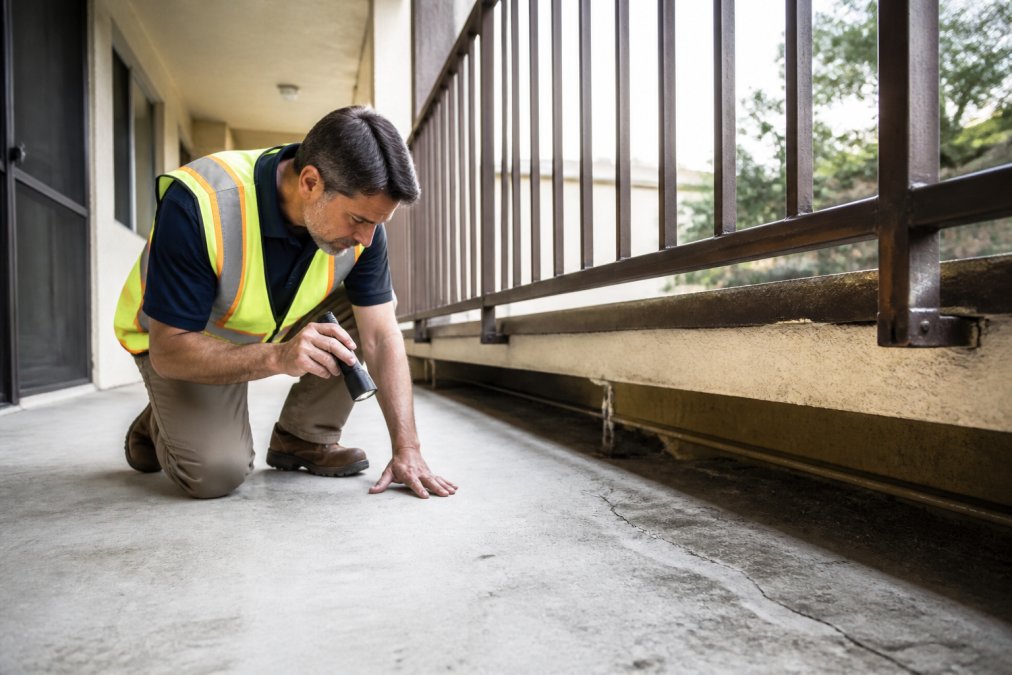
Test drainage by pouring water onto the balcony surface in a few spots and watching where it flows. Poor drainage means water sits on the structure, accelerating decay and corrosion.
Moisture intrusion prevention strategies
Before the inspection, seal any obvious gaps in sealants. If an inspector removes a sealant to test the substrate beneath, that area is now exposed to weather until repairs are made. You can minimize this by ensuring the rest of the balcony is as sealed as possible.
Check that gutters and downspouts are clear and functioning. Water that should drain away from the building instead pools on the balcony, worsening existing moisture problems. Ensure that any temporary coverings or tarps are removed before the inspection, inspectors need to see the actual surface condition, and tarps that trap moisture underneath can make things worse.
Building a Balcony Inspection Checklist
A structured checklist keeps you organized and ensures clear communication with the inspector.
What to document before inspectors arrive
Create a written list of any known issues or areas of concern, including dates when problems were first noticed. Document all previous repairs with dates and contractor information if available. This context helps inspectors understand whether a problem is new or recurring.
Create a site plan showing which balconies are which, labeled by unit number or location. List any safety concerns or access restrictions. If a particular balcony is unstable or certain units have access issues, tell the inspector upfront.
How to communicate existing damage
Honesty upfront prevents surprises later. Point out existing damage that you’re already aware of. Explain the history of any chronic issues. Ask the inspector to mark or photograph areas of concern so you have a clear record of what was tested and where.
Understanding the Invasive Balcony Inspection Process
Understanding what happens during invasive testing helps you prepare and manage the aftermath.
Non-destructive testing methods vs. invasive techniques
Non-destructive testing methods like visual inspection and infrared thermography don’t require removing protective materials. However, they have limits. Infrared thermography can detect moisture patterns, but it can’t confirm the extent of decay or structural failure.
Moisture meters measure water content in wood and concrete. This is technically non-destructive, but it requires access to the substrate. If the substrate is covered by sealant or paint, the inspector may need to remove a small section to insert the meter. A removed sealant is a removed sealant, and water will find that gap unless it’s replaced promptly.
Load-bearing capacity testing may apply pressure to railings or decking to assess whether the structure can support expected loads. Exploratory cutting or probing is the most invasive approach, if an inspector suspects wood rot beneath a surface, they may drill or cut a small hole to inspect the interior. This creates a pathway for water and requires repair.
What happens during moisture meter testing
A moisture meter is a handheld device that reads the water content in materials. The process is quick, usually a few seconds per location, but it requires direct contact with the material being tested. If the material is sealed or painted, the inspector may need to remove a small patch to get an accurate reading.
Inspectors typically test multiple locations across each balcony: corners, edges, areas near penetrations, and spots where water would naturally collect. They’re mapping moisture patterns to understand where water is entering and accumulating.
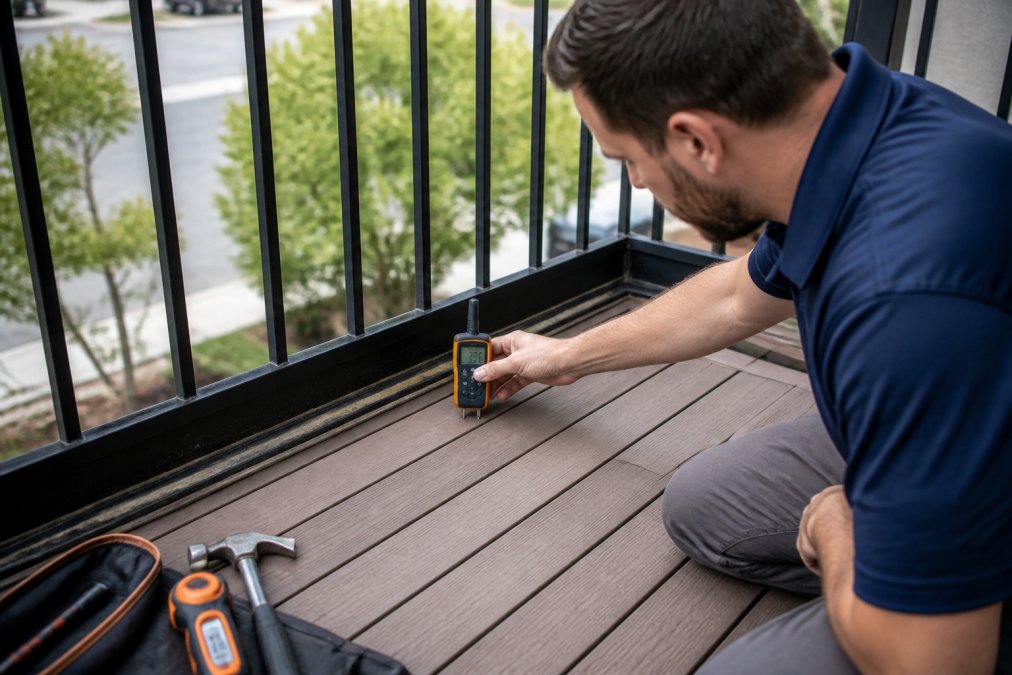
The critical point: test locations must be sealed immediately after testing. If your inspector doesn’t explicitly seal them before leaving, you need to do it yourself within hours. Exposed wood and concrete absorb water rapidly. A single day of rain in an exposed test hole can undo weeks of preventive maintenance.
DIY vs. Professional Inspection: When to Call Experts
For small residential buildings (3-5 units), a thorough visual inspection by a knowledgeable property manager can identify obvious problems. However, California law requires that buildings with three or more units undergo formal inspections by qualified professionals to meet SB 326 and SB 721 compliance. You cannot skip the professional inspection.
If your building has had recent repairs or you’re confident the structure is sound, a preliminary walkthrough can help you prepare. If you suspect structural problems or have deferred maintenance, hire a professional immediately. For larger buildings (10+ units) or buildings with known structural issues, hire a professional inspector from the start. The complexity and liability exposure justify the investment.
Post-Inspection Repair Protocols and Liability Protection
What happens in the 24 hours after the inspector leaves is critical.
Steps to take immediately after inspection
Before the inspector leaves, walk the balconies with them and confirm which areas were tested. Get a marked-up plan or photos showing test locations.
Within 4 hours of inspection completion, seal all test locations. Use appropriate sealants for the material being sealed. Silicone caulk works for most applications, but concrete may require concrete sealant. If the inspection removed any protective coverings or flashing sections, ensure they’re replaced the same day if weather permits.
Document the post-inspection condition with photographs. This creates a record of the inspection’s impact and proves you took immediate action to minimize damage.
How to manage water damage from exposed framing
If water infiltrates exposed framing despite your precautions, address it immediately. Water sitting in exposed wood for more than a few days accelerates rot. Use fans to increase air circulation. Have a contractor inspect water-damaged areas before deciding on repair versus replacement.
Document all water damage with photos and dates. This becomes part of your liability protection record.
Compliance Standards and Your Inspection Rights
California’s balcony safety laws, SB 326 and SB 721, set mandatory inspection frequencies and standards. SB 326 applies to residential buildings with three or more units and requires inspections of exterior elevated elements at least every nine years, or more frequently if the building is in a coastal zone or has known structural issues. SB 721 requires inspections every six years for buildings in coastal zones and every nine years for other areas.
The inspection must be conducted by a licensed engineer, architect, or qualified inspector. You have the right to know the inspection standards being applied and to dispute findings if you believe they’re incorrect. Keep all inspection reports, repair records, and correspondence in a central file. This documentation proves your due diligence if a liability claim ever arises.
Balcony inspections are non-negotiable for safety and compliance, but they don’t have to leave your building in disrepair. The property owners who minimize damage are the ones who prepare beforehand, communicate clearly with inspectors, and act immediately to seal exposed areas. This approach protects your residents, reduces your liability exposure, and keeps your reserve fund focused on genuine repairs. Apex Balcony has guided hundreds of property managers through this process with detailed inspections that identify real problems without creating new ones. Book an inspection with our licensed team to see how professional oversight protects your building and keeps your residents safe.
Frequently Asked Questions
What is the difference between SB 326 and SB 721 balcony inspections?
SB 326 applies to residential buildings with three or more units built before January 1, 2008, requiring initial inspection by January 1, 2025. SB 721 covers similar buildings and mandates ongoing inspection every six years. Both laws require structural integrity assessment and compliance with building codes. Knowing which applies to your property determines your inspection timeline and frequency, which affects your maintenance planning and budget allocation.
How can I identify early signs of wood rot and decay before an inspection?
Look for soft spots in decking when you press with a tool, discolored or spongy wood, visible gaps in flashing, peeling paint, or rust stains on railings. Check for moisture intrusion around sealants and caulking. Early detection of decay prevents inspectors from needing invasive probing, which causes additional damage. Document these observations with photos and notes so you can address them before the inspection occurs.
What should I do if the inspector leaves exposed framing or water damage during the inspection?
Photograph all exposed areas immediately and document the date and time. Request a written statement from the inspector describing what was opened and why. Contact a qualified contractor within 24 hours to seal exposed framing, apply waterproofing, and prevent water intrusion. Keep all repair receipts and documentation for your records. This post-inspection repair protocol protects your liability and prevents further structural damage from moisture penetration.
Can I hire a less invasive inspector to avoid damage, or are invasive tests required?
SB 326 and SB 721 compliance requires structural assessment, but the inspection method varies. Non-destructive testing using infrared thermography and moisture meters can detect problems without cutting into materials. However, some structural issues require invasive probing to confirm decay depth. A professional inspector will use the least invasive approach necessary to meet code requirements. Discussing your concerns upfront helps inspectors plan their assessment to minimize unnecessary damage.