How to Repair Leaking Elevated Deck Membranes
Learn how to repair leaking elevated deck membranes step-by-step. Diagnose leaks, choose repair materials, and seal joints to prevent water damage.
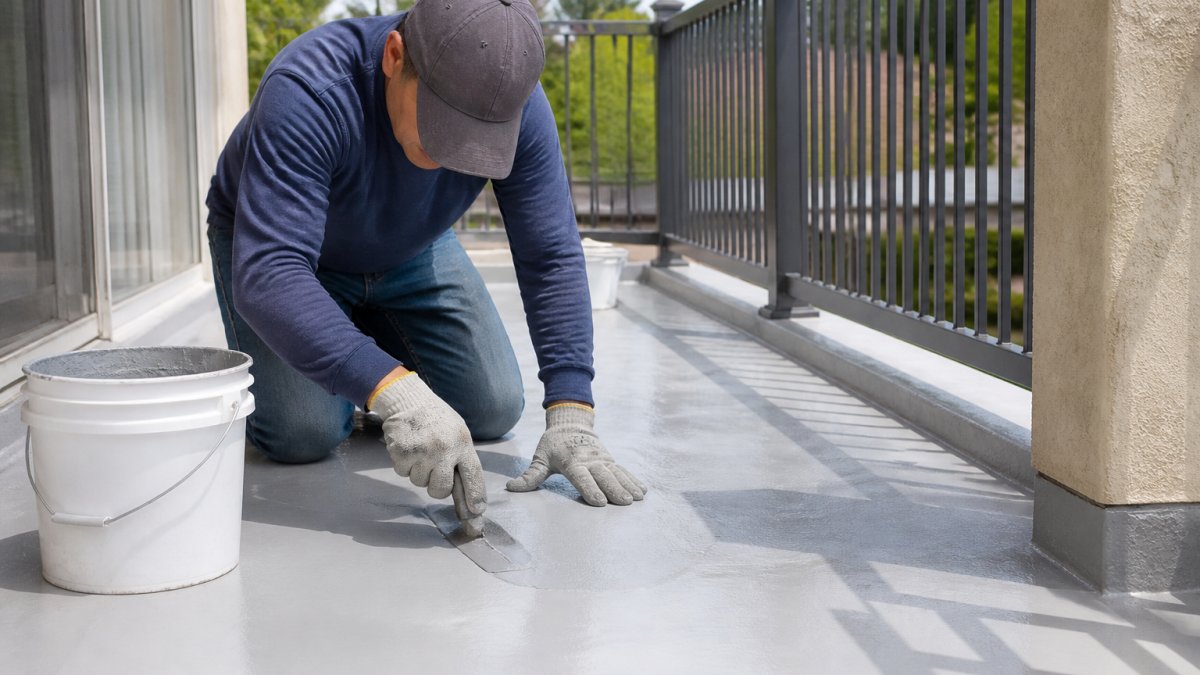
Table of Contents
- Why Elevated Deck Membrane Leaks Require Immediate Attention
- How to Diagnose Deck Membrane Leak Detection
- Preparing the Deck Surface for Repair
- Applying a Vinyl Deck Membrane Patch
- Sealing Joints, Penetrations, and Vulnerable Details
- When to Pursue Deck Waterproofing Membrane Replacement
- Scheduling a Balcony Inspection for Water Damage
- Frequently Asked Questions
Last Updated: October 16, 2026
Why Elevated Deck Membrane Leaks Require Immediate Attention
Water damage in elevated structures spreads fast. A small leak today becomes structural failure tomorrow.
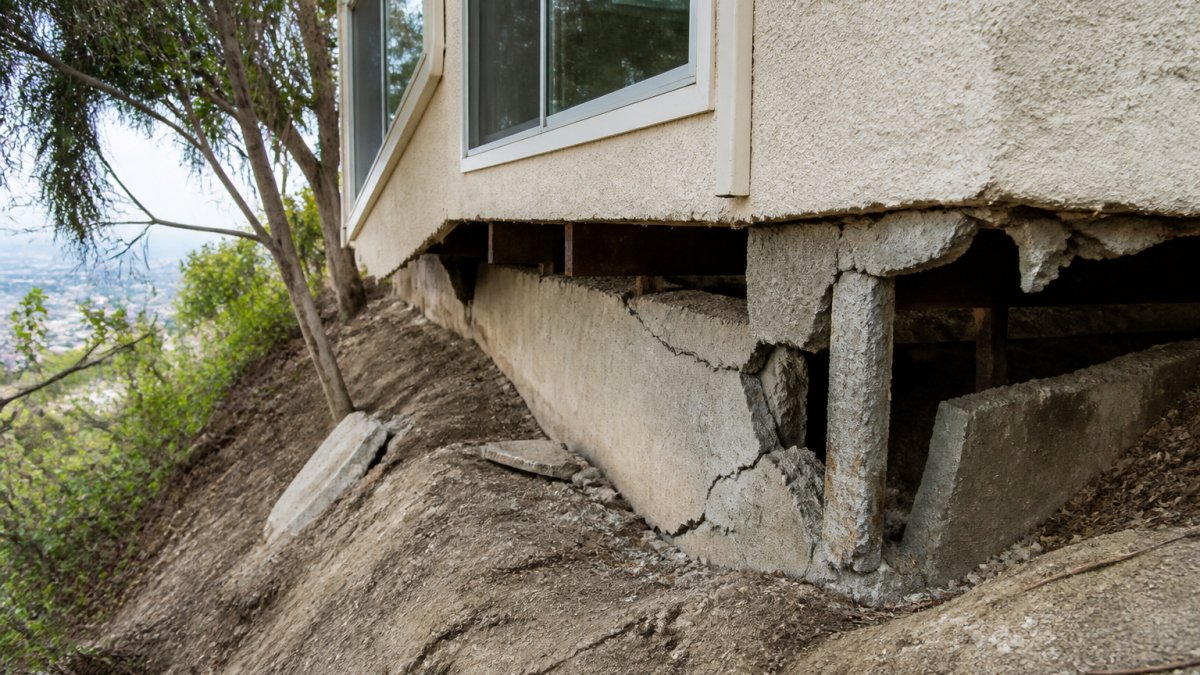
Elevated deck membranes protect everything beneath them. When they fail, water intrusion doesn’t just stain ceilings. It rots support beams, triggers mold growth, and creates liability for property owners.
This guide walks you through diagnosing and repairing leaking elevated deck membranes before damage becomes catastrophic.
How to Diagnose Deck Membrane Leak Detection
Finding the leak source is the critical first step. Water travels. It enters at one point but pools somewhere else entirely. You must trace it back to its origin.
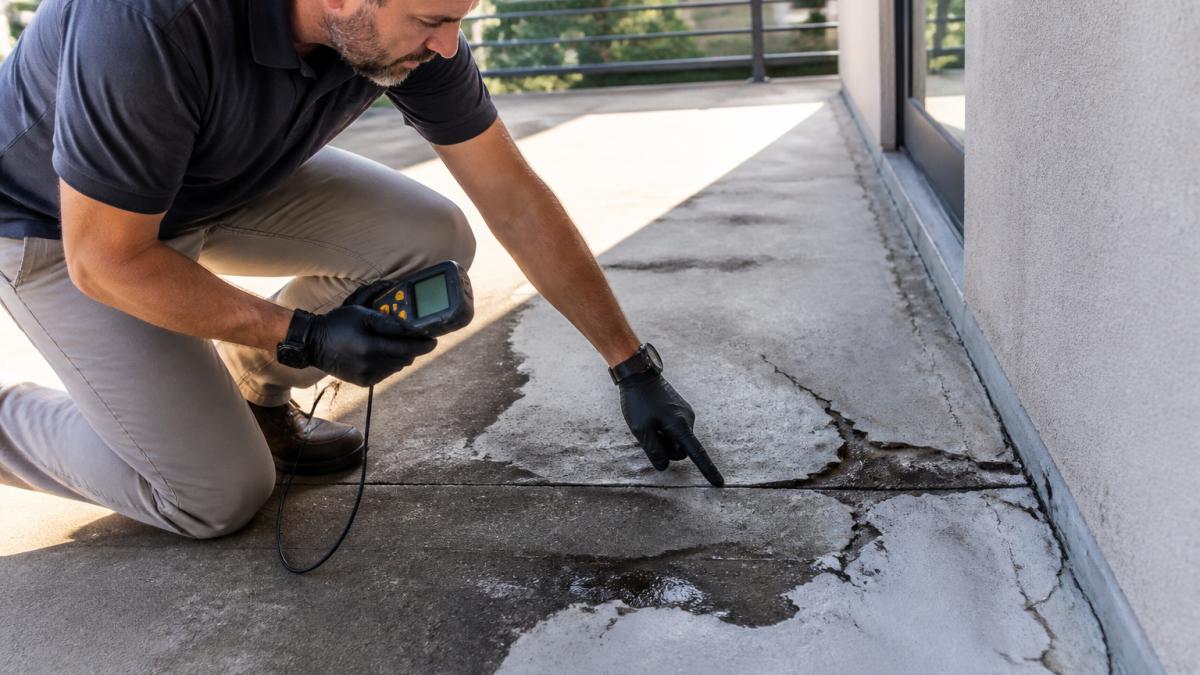
Identifying the leak source and location
Start from the wet area and work backward. Mark where water drips or pools. This is rarely the leak source, it’s where water exits after traveling through the membrane system.
Check for these common entry points:
- Cracks in the waterproof coating or membrane surface
- Punctures from debris, foot traffic, or installation damage
- Failed seams where membrane sheets overlap
- Gaps around deck penetrations (posts, railings, mechanical vents)
Use a moisture meter to identify wet areas in the membrane and substrate. Soft spots indicate water saturation. Press firmly on suspect areas, compromised membrane feels spongy or yields under pressure.
Inspecting for cracks, punctures, and failed seams
Examine the entire membrane surface systematically. Don’t assume damage is limited to the wet zone.
Look for these failure patterns:
- Cracks: Linear splits in liquid-applied membranes or vinyl decking, often radiating from stress points
- Punctures: Holes or tears from sharp objects, typically surrounded by delamination
- Delamination: Separation between membrane layers or between membrane and substrate
- Failed seams: Lifted or separated edges where two membrane sheets meet
- Blistering: Bubbles indicating moisture trapped beneath the membrane surface
Run your hand across suspect areas. Smooth membrane feels uniform. Failed areas feel rough, raised, or soft. Mark all damage with chalk or tape for reference during repair planning.
Checking flashing and wall transitions
Flashing failures cause most elevated deck leaks. Water runs down walls and penetrates gaps between the membrane and vertical surfaces.
Inspect these transition details:
- Wall base flashing: Where the membrane meets building walls, check for gaps, separation, or deterioration
- Door thresholds: Especially common failure points where foot traffic stresses the seal
- Railing post bases: Posts penetrate the membrane; water pools at these connections
- Mechanical penetrations: HVAC vents, electrical conduits, and plumbing stacks create weak points
- Deck edges: Perimeter edges where membrane terminates often show lifting or separation
Water typically enters through flashing gaps rather than through the membrane itself. Failed flashing allows water to run beneath the membrane surface where it collects and causes hidden damage.
Do not assume a dry membrane means no leak. Water can travel 10+ feet horizontally beneath the surface before pooling. Inspect the full extent of the deck, not just the wet area.
Preparing the Deck Surface for Repair
Surface preparation determines repair success. A patch applied to dirty, wet, or contaminated membrane will fail within months.
Clearing debris and restoring drainage
Remove all debris from the deck surface and drainage paths. Leaves, dirt, and standing water prevent the membrane from drying.
Clear these areas:
- The entire repair zone (extend 12 inches beyond visible damage in all directions)
- All deck drains and drainage channels
- Gaps between the membrane and flashing
- Around posts and penetrations where water pools
Use a broom or soft brush, avoid pressure washers that can damage the membrane further. Pressure washing can delaminate weakened membrane and force water deeper into the substrate.
Restore proper drainage by ensuring water flows toward drains, not toward walls or low spots. Slope the deck slightly if standing water is present.
After clearing debris, wait 24-48 hours before applying repairs. Trapped moisture beneath the membrane will cause patches to fail. Proper drying is non-negotiable.
Drying and cleaning the damaged area
Moisture is the enemy of membrane repairs. Patches won’t bond to wet surfaces. The repair area must be completely dry.
Use these drying methods:
- Air circulation: Place fans to direct airflow across the repair zone for 24-48 hours
- Dehumidifiers: In humid climates, run dehumidifiers to remove moisture from the air
- Heat lamps: Low-wattage heat lamps accelerate drying without damaging the membrane (keep at least 3 feet away)
- Calcium chloride: Place moisture-absorbing products around the repair area to pull humidity
Test for dryness by placing a plastic sheet over the area for 2 hours. If condensation forms underneath, the surface is still too wet.
Clean the repair area thoroughly. Use a soft brush or cloth with mild detergent to remove algae, mold, or dirt.
Applying a Vinyl Deck Membrane Patch
Patch repairs work for localized damage. Most elevated decks use vinyl or single-ply membranes that accept patches well when applied correctly.
Selecting compatible patch materials and tape
Material compatibility is critical. Vinyl patches bond to vinyl membranes. Liquid-applied patches bond to liquid-applied membranes. Mixing incompatible materials causes failure.
Identify your existing membrane type:
- Vinyl decking: Smooth, flexible sheet material, typically gray or tan
- Single-ply membrane: Rubber (EPDM) or modified bitumen sheets
- Liquid-applied membrane: Coating that cured in place, typically gray or white
- Flashing tape: Self-adhesive repair tape for seams and transitions
Select patch materials to match:
- For vinyl: Use vinyl repair tape or vinyl membrane patches with compatible adhesive
- For rubber/EPDM: Use rubber-compatible patches and sealant
- For liquid-applied: Use compatible liquid sealant or membrane coating
- For seams: Use flashing tape rated for the specific membrane type
Never mix materials. A vinyl patch on a rubber membrane will fail. Incompatible adhesives don’t bond properly.
Step-by-step patching technique
Proper technique ensures patches stay in place for years.
Step 1: Cut the patch [Time: 10 minutes]
Step 2: Prepare the patch surface [Time: 5 minutes]
Step 3: Apply adhesive [Time: 15 minutes]
Follow the patch manufacturer’s instructions for adhesive application.
Step 4: Position and press the patch [Time: 10 minutes]
Carefully position the patch over the repair area.
Press for at least 5 minutes. Complete adhesion requires time.
Step 5: Seal patch edges [Time: 20 minutes]
Once the patch is set, seal all edges with compatible sealant.
Allow sealant to cure fully before exposing the repair to water.
Expected Result: A properly applied patch stops water intrusion at that location.
The most common patch failure occurs at edges. Sealing patch perimeters thoroughly is what separates a short-term fix from a durable repair.
Sealing Joints, Penetrations, and Vulnerable Details
Patches stop active leaks. Sealing vulnerable details prevents future leaks from starting.
Sealing around deck drains and railing posts
Drains and posts penetrate the membrane. Water pools around them. These areas fail first.
Seal deck drains:
- Clean the drain opening and surrounding area thoroughly
- Apply a flexible sealant around the drain perimeter, at least 4 inches wide
- Use a sealant rated for wet conditions (polyurethane or silicone, not acrylic)
- Ensure water still flows freely into the drain, don’t block it
Seal railing post bases:
- Posts create stress points where the membrane flexes
- Apply sealant in a wide band around each post base (minimum 6 inches)
- Extend sealant up the post flashing at least 2 inches
- Check annually for sealant cracking and reapply as needed
Protecting edges and transitions
Deck edges and wall transitions are constant failure points. Water runs down walls and infiltrates gaps in the membrane system.
Protect these areas:
- Perimeter edges: Apply edge flashing and sealant to prevent water from running under the membrane
- Wall transitions: Ensure membrane extends at least 6 inches up the wall or connects to wall flashing
- Door thresholds: Install threshold flashing that directs water away from the membrane penetration
- Mechanical vents: Seal around all penetrations with compatible flashing and sealant
Water always flows downward and sideways. Your sealing strategy must anticipate this flow and direct it safely away from the membrane system.
When to Pursue Deck Waterproofing Membrane Replacement
Patches and sealant work for limited damage. Some situations demand full membrane replacement instead of repair.
Assessing repair limits and replacement criteria
Repair is appropriate when:
- Damage is localized to one or two areas
- The membrane surface is generally intact elsewhere
- Damage is less than 10% of the total membrane area
- The existing membrane is less than 15 years old
Replace the membrane when:
- Damage is widespread across multiple areas
- The membrane shows extensive cracking, blistering, or delamination
- Damage exceeds 10% of the total membrane area
- The membrane is more than 15-20 years old
- Repair costs approach 50% of replacement costs
A membrane reaching the end of its service life will fail again soon after repair. Patching an aging membrane is temporary. Plan for replacement if the membrane is showing its age across multiple areas.
Identifying structural and concealed damage
Before committing to patch repairs, assess whether hidden damage exists beneath the membrane.
Signs of concealed damage:
- Soft or spongy areas in the deck substrate
- Discoloration or staining on ceilings below the deck
- Mold or mildew growth in the space below
- Rust stains on metal framing visible from below
- Visible rot or deterioration in wood framing
If concealed damage is suspected, remove a small section of membrane to inspect the substrate. A small investigative opening reveals the extent of moisture penetration. This determines whether patching is sufficient or replacement is necessary.
Extensive concealed damage may require structural repair in addition to membrane replacement. This is beyond DIY scope and requires professional assessment.
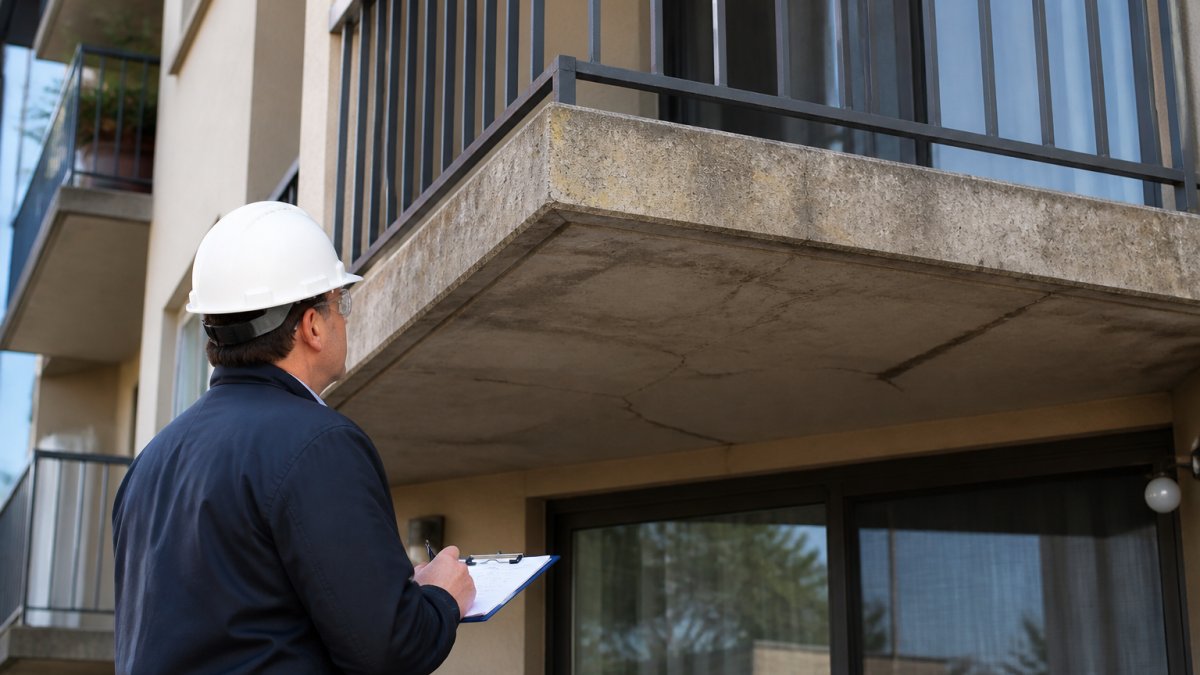
Scheduling a Balcony Inspection for Water Damage
Professional inspection identifies problems your visual assessment might miss.
Our inspection process covers:
- Membrane condition and remaining service life
- Flashing integrity and transition details
- Drainage system function and blockages
- Structural impact of water intrusion
- Hidden damage beneath the membrane surface
For California properties, professional inspection ensures compliance with SB 326 and SB 721 balcony safety requirements.
Early detection of water damage prevents expensive replacement and protects residents from safety hazards.
Leaking elevated deck membranes demand prompt action. Water intrusion accelerates structural deterioration and creates serious liability for property owners. Small leaks become major problems when ignored.
Apex Balcony helps property managers and building owners protect their assets through professional inspection and guidance. Our licensed inspectors identify water damage early, assess repair versus replacement, and ensure your elevated decks meet current safety standards. California’s SB 326 and SB 721 balcony inspection requirements establish mandatory timelines for structural assessment.
Frequently Asked Questions
How do you find the source of a leak in an elevated deck membrane?
Start by looking for visible signs: cracks, punctures, soft areas, and standing water. Check the underside of the deck for water stains and drips. Inspect seams, flashing at walls and doors, and areas around penetrations like railing posts and drains. Use a hose to spray water systematically across the membrane while observing from below, or apply a dye to water to trace its path. Professional deck membrane leak detection involves moisture meters and thermal imaging to identify concealed damage.
Can you patch a leaking deck membrane, or does it need to be replaced?
Small, isolated leaks can be patched if the surrounding membrane is still sound. Use a vinyl deck membrane patch or self-adhesive flashing tape compatible with your membrane type. However, if the membrane shows widespread cracks, delamination, or multiple failed seams, full deck waterproofing membrane replacement is more cost-effective and reliable long-term. Patches are temporary solutions; replacement addresses the root cause and restores full protection.
What materials are used to repair a waterproof deck membrane?
Repair materials depend on your membrane type. For single-ply membranes, use compatible self-adhesive tape, liquid-applied sealant, or vinyl patches. For liquid rubber coatings, apply additional coats over cleaned and dried areas. Always verify material compatibility with your existing membrane, mixing incompatible products causes adhesion failure. Flashing tape works for seams and transitions. Primer may be required before applying sealants. Consult your membrane manufacturer’s specifications or hire a professional for guidance.
When should a leaking elevated deck membrane be inspected by a professional?
Schedule a professional balcony inspection for water damage immediately if you notice standing water, soft spots, water stains below the deck, or active dripping. Do not wait, water intrusion causes structural rot, mold, and liability risks. If repairs are uncertain or the leak persists after patching, professional assessment is essential. California property owners with three or more residential units should have annual inspections to meet SB 326 and SB 721 compliance requirements and catch damage early.