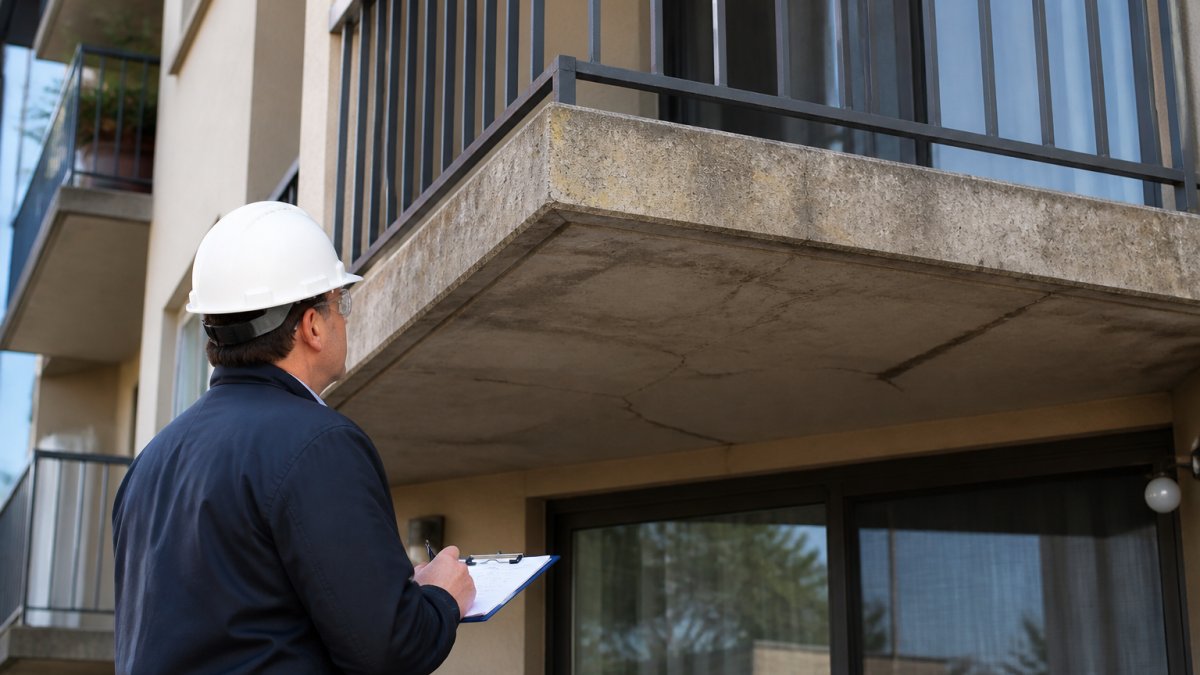
Balcony Waterproofing Inspection Checklist: 7 Steps
Use this balcony waterproofing inspection checklist to spot leaks, membrane failures, and drainage problems before they become costly structural repairs.
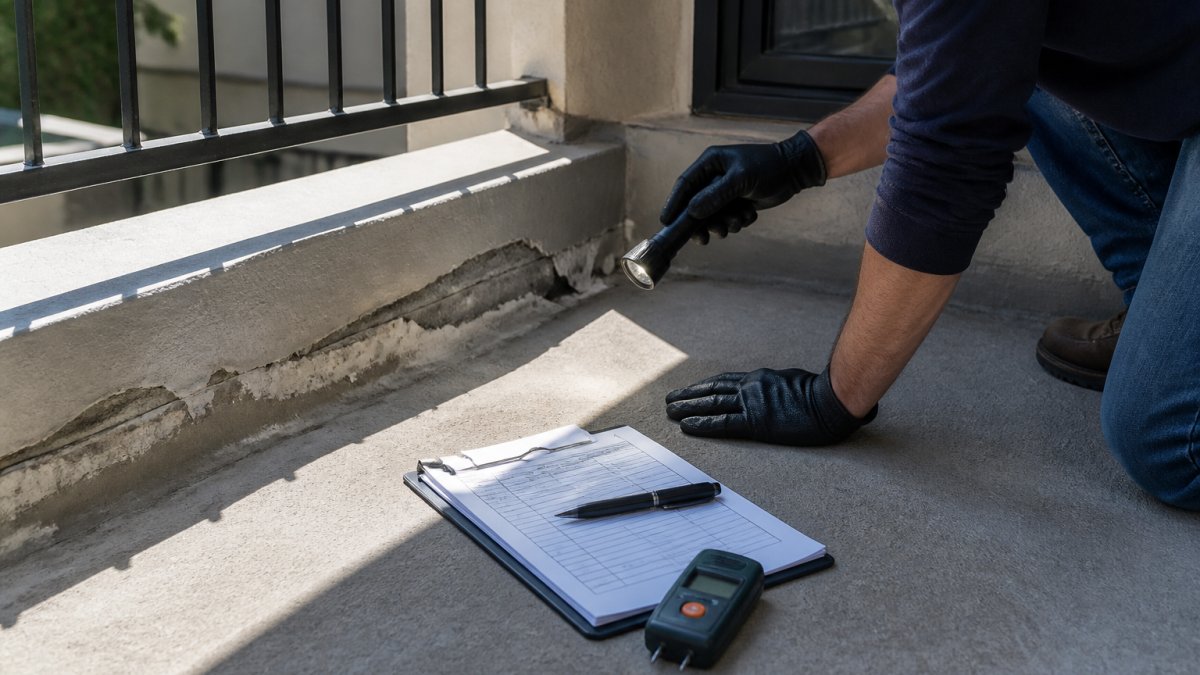
Table of Contents
- Why a Balcony Waterproofing Inspection Checklist Matters
- Step 1: Start With the Balcony Inspection Report and Property Details
- Step 2: Check the Waterproofing Membrane and Walking Surface
- Step 3: Spot Common Balcony Waterproofing Problems
- Step 4: Identify Balcony Leak Signs and Test for Moisture
- Step 5: Inspect Sealants, Flashing, and the Balcony-Frame Joint
- Step 6: Perform a Balcony Drainage Inspection
- Step 7: Check Structural Elements, Railings, and Stairs
- Frequently Asked Questions
Last Updated: October 18, 2026
Why a Balcony Waterproofing Inspection Checklist Matters
A balcony waterproofing inspection checklist is a structured set of checks covering the waterproofing membrane, sealant joints, flashing, drainage, and structural elements of an elevated balcony in a fixed order. We have walked hundreds of building owners through this process, and the sequence matters as much as the checks themselves. A missed membrane breach does not stay a small leak for long.
What the Checklist Protects Against
Water intrusion is the quiet failure mode on any elevated balcony. Water finds a path through a failed sealant joint, sits under the deck surface, and reaches the framing before anyone sees a drip inside. By then, wood decay and corrosion are already underway. The checklist protects against three outcomes: structural damage that spreads, safety hazards for residents, and compliance problems for owners who need documented inspection records.
The most expensive mistake is treating a hairline crack at the balcony-frame joint as cosmetic. That joint is the most common entry point for water, and a failed seal there can rot framing long before a stain appears on the ceiling below.
Step 1: Start With the Balcony Inspection Report and Property Details
Begin every balcony waterproofing inspection by confirming the property address, the number of exterior elevated elements, and any prior inspection report on file. The report tells you what failed last time and what was repaired, saving you from re-diagnosing the same defect.
Gather these before you step outside:
- Property address and building age
- Count of balconies, decks, walkways, and stair landings
- Previous inspection findings and repair records
A prior report is not a substitute for a fresh look. Materials age between cycles, and a joint that passed two years ago may be separating now.
Step 2: Check the Waterproofing Membrane and Walking Surface
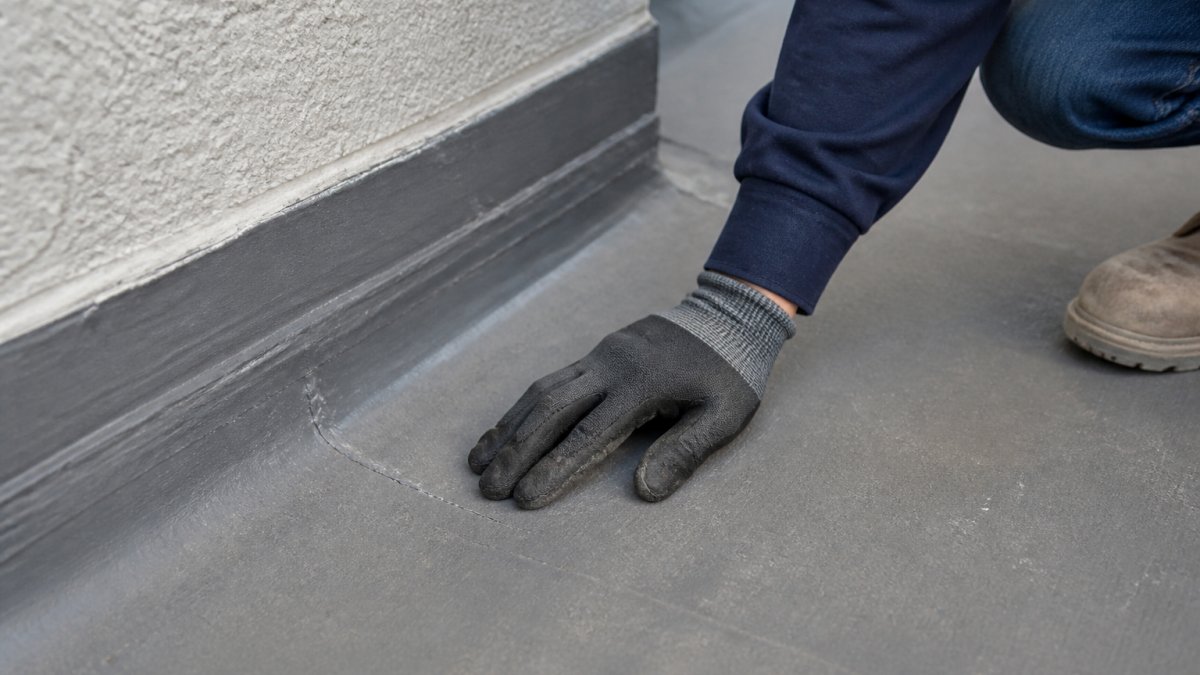
The membrane keeps water out, so inspect the walking surface first for cracks, blisters, and separation at edges. Walk the full deck and check where it meets walls, railings, and drains, any gap between membrane and substrate is a water path.
Membrane Types, Service Life, and Failure Indicators
Most balconies use one of three systems, and each fails in a signature way. Knowing the system on your deck tells you where to look first.
| Membrane Type | Typical Service Life | Failure Signature | What to Check |
|---|---|---|---|
| Fluid-applied coating (polyurethane or acrylic) | 5-10 years before recoating; longer with a wear surface | Blistering, thin spots at high-traffic paths, hairline cracks, chalking | Wet-film thickness at edges, coating termination at walls and drains, pinholes over fasteners |
| Sheet membrane (PVC, TPO, or modified bitumen) | 10-20 years | Lifted or curled seams, bubbling from trapped moisture, punctures at furniture and planter contact points | Seam laps (minimum 2-inch overlap on most systems), perimeter terminations, terminations under thresholds |
| Cementitious coating | 5-10 years | Crazing, chalking, surface erosion, cracks that widen with thermal cycling | Coating loss at drains and scuppers, crack width, adhesion at the deck-to-wall transition |
Service life varies with sun exposure, foot traffic, and installation quality, so use the manufacturer’s stated life as a starting point and let visible condition drive the call. A 12-year-old sheet system may still have years left; a 6-year-old fluid-applied coating with widespread blistering may already be at end of life.
How Each System Fails Mechanically
Fluid-applied coatings fail from the top down: UV breaks down the polymer chains, foot traffic abrades high-traffic paths, and the coating thins until pinholes open.
Sheet membranes fail at seams and terminations first: adhesive-backed seams lift when the substrate moves or water gets behind the lap, and once a seam opens, water wicks under the sheet and the membrane bubbles.
Cementitious coatings fail from thermal movement and coating loss at drains.
Repair-Versus-Replacement Decision Criteria
Use these thresholds to decide what a finding requires:
- Reseal only: isolated sealant failures at joints and penetrations, with the membrane itself intact and no moisture detected in the substrate. This is a maintenance item, not a membrane repair.
- Localized repair: a single blister, puncture, or seam lift under roughly 1 square foot, with dry substrate confirmed by moisture meter. Patch with the same membrane system, a mismatched patch is a future failure point.
- Full system replacement: widespread blistering, multiple seam failures across the deck, coating worn through to substrate in traffic paths, or any moisture reading that indicates saturated framing. Patching a membrane at end of life just moves the leak.
Do not apply a new coating over a failed membrane to “buy a year.” Trapped moisture under a new coating will blister it within one season, and you will have paid for the coating twice. Confirm the substrate is dry before any recoating.
What to Record for Each Membrane Finding
For every defect, note the location (measured from a fixed reference such as the door threshold), membrane type, defect type, approximate size, and whether moisture was detected. That record lets a contractor price the repair without a second site visit and protects you if a defect is later disputed.
Step 3: Spot Common Balcony Waterproofing Problems
Balcony waterproofing problems show up in predictable places. Look for cracks, gaps, and separation at the balcony-frame joint, then check the deck surface for ponding marks and staining.
The short list of repeat offenders:
- Cracks and gaps in the deck coating
- Separation where the deck meets the wall
- Ponding water and dark staining near drains
Take a photo of every defect with a tape measure or coin in frame for scale. When you prioritize repairs later, a photo with scale settles arguments about whether a crack is cosmetic or structural far faster than memory does.
Step 4: Identify Balcony Leak Signs and Test for Moisture
Balcony leak signs include staining on the ceiling below, efflorescence on masonry, and musty odors in the units under the deck. Confirm suspected moisture with a meter rather than waiting for a visible drip, by the time a stain appears inside, the framing has usually been wet for months.
Reading the Leak Signs in Order of Reliability
Not all leak signs are equally trustworthy. Rank them before you act:
- Active drip or standing water below the deck, definitive. The path is open now.
- Moisture meter reading above the dry baseline, strong evidence of concealed moisture, even without a visible stain.
- Efflorescence on masonry or concrete below, mineral deposits left by water that has evaporated. Indicates a recurring path, not necessarily an active one.
- Staining or paint peeling on the ceiling below, indicates past or current moisture; timing is uncertain.
- Musty odor in the unit below, suggests long-term moisture but does not localize it.
Moisture Detection Methods and How to Interpret Them
A pin-type moisture meter reads electrical resistance between two probes; a pinless meter reads capacitance through the surface. Both are useful but answer different questions.
- Pin-type: best for wood framing and drywall below the deck. Drive the pins into the suspect area and compare against a reading from a known-dry area of the same material. A reading that is more than a few percentage points above the dry baseline warrants investigation.
- Pinless: best for scanning large areas of membrane and substrate without leaving holes. Use it to map the extent of a suspected wet zone, then confirm with a pin-type meter.
Take a dry baseline reading on the same material in a known-dry location before interpreting any suspect reading, without a baseline, a meter number means nothing. A suspect reading within a few points of baseline is noise; one well above baseline in the same material is a real signal.
Controlled Water Testing: When and How
A controlled water test isolates the entry point when the leak path is unclear, appropriate when you suspect a leak but cannot see the breach and the area below can be observed during the test.
Procedure:
- Plug or cap the drain so water does not leave the deck.
- Apply a shallow film of water, no more than about 1 inch, to a small, bounded area, starting at the highest suspect point.
- Observe the area below for 30-60 minutes. If moisture appears, you have found an active path.
- If no moisture appears, expand the test area incrementally toward the next suspect zone.
- Drain and dry the test area completely when finished.
Safety and damage limits:
- Never test more than a small, bounded area at a time. A full-deck flood test can drive water deep into framing and turn a small leak into a structural problem.
- Do not test if the membrane is already known to be breached in the test area, you will only add water to the substrate.
- Do not test during freezing conditions or when rain is forecast within 24 hours.
A water test is a diagnostic tool, not a repair. If the test confirms a leak, dry the area thoroughly and schedule the repair before the next rain event. Leaving a tested area wet defeats the purpose.
Photo Documentation and Severity-Based Prioritization
Record every finding, visual or meter-confirmed, in a consistent format so it can be prioritized and tracked. Capture:
- Location: measured from a fixed reference (door threshold, drain center, railing post).
- Symptom: what you saw or measured (stain, blister, meter reading, drip).
- Severity: use a simple three-tier scale, monitor (cosmetic, no moisture), repair (localized defect, dry substrate), urgent (active leak, saturated substrate, or structural movement).
Pair each photo with the location note so a contractor can find the defect without a second site visit.
Keep a simple log, one row per finding, with the four fields above. When you hand it to a contractor, you get a priced scope of work instead of an hourly diagnostic visit. When you hand it to an insurer or a buyer, you have a documented inspection record.
Step 5: Inspect Sealants, Flashing, and the Balcony-Frame Joint
Sealant and flashing fail before the membrane does, so check every joint and penetration. Run a finger or tool along the sealant at the balcony-frame joint and look for cracking, pulling away, or loss of adhesion.
Flashing should sit tight against the wall and shed water outward. Lifted flashing, missing fasteners, or gaps at the top edge are all water entry points.
Step 6: Perform a Balcony Drainage Inspection
A balcony drainage inspection confirms water leaves the deck quickly and completely. Check that drains are clear, the deck slopes toward the drain, and no standing water remains after rain.
Look for:
- Clogged or partially blocked drains
- Flat or back-sloped areas where water pools
- Debris trapped at scuppers and strainers
Standing water is a slow-motion failure. Even a shallow pool keeps the membrane saturated and accelerates sealant breakdown at the perimeter.
Step 7: Check Structural Elements, Railings, and Stairs
Finish with the structure and safety elements: framing, railings, and stairs. Check railings and connections for rust, movement, or looseness, and test guardrail height and stability by hand.
Inspect stairs for loose treads, worn nosings, and movement at stringers and landings. Corrosion on fasteners and metal connectors is a structural warning, not cosmetic. If you find movement, soft framing, or heavy corrosion, stop and bring in a licensed inspector, a documented professional assessment protects you if a defect is later challenged.
The checklist works best in order: report and property details first, then membrane, defects, moisture, sealant and flashing, drainage, and structure last. Document each finding with a photo and a severity rating so repairs can be prioritized and tracked.
Frequently Asked Questions
What does a balcony inspection consist of?
A balcony inspection covers the waterproofing membrane, walking surface, sealant joints, flashing, drainage and slope, structural framing, and railings. The inspector documents cracks, gaps, standing water, corrosion, and wood decay, then records findings with photos and severity ratings. For buildings covered by SB 326 or SB 721, the inspection must be performed by a qualified professional and the results compiled into a formal balcony inspection report that identifies whether repairs or further testing are needed.
What are the signs of a failed balcony waterproofing membrane?
Look for bubbling, blistering, or delamination of the deck surface, cracks that run through the coating, dark stains near the balcony-frame joint, and soft or spongy spots underfoot. Water that beads and pools instead of draining, or rust streaks on the framing below, also point to a failed membrane. Any of these balcony leak signs means the waterproofing system is no longer protecting the structure, and a closer moisture test or professional assessment is the next step.
How often should a balcony be inspected for water damage?
A visual walk-through once or twice a year, ideally before and after the rainy season, catches most early balcony waterproofing problems. Full professional inspections are typically done every few years, and SB 326 requires periodic inspections of exterior elevated elements on covered buildings. Any time you see standing water, cracked sealant, or stains after a storm, treat it as an inspection trigger rather than waiting for the next scheduled visit.
Can a balcony leak cause structural damage?
Yes. Water that gets past the membrane or sealant reaches the framing, fasteners, and sheathing, where it causes corrosion, dry rot, and wood decay. Because the damage happens out of sight, it often goes unnoticed until the balcony feels soft or a railing connection loosens. The 2015 Berkeley balcony collapse and the 2021 Malibu collapse both show how hidden water damage can turn into a safety hazard, which is why a regular balcony waterproofing inspection checklist matters.
What should be included in a balcony inspection report?
A complete balcony inspection report should list the property address, each exterior elevated element inspected, and the condition of the waterproofing membrane, sealants, flashing, drainage, railings, and structural framing. It should include dated photos of every defect, a severity rating so owners can prioritize repairs, and a clear recommendation for repair, further testing, or replacement. For SB 326 and SB 721 compliance, the report also needs the inspector’s qualifications and sign-off.
Waterproofing failures rarely announce themselves, and the cost of guessing wrong lands on owners and boards. Apex Balcony provides licensed inspectors with decades of combined construction and design experience, specialized expertise in SB 326 and SB 721 compliance, and comprehensive inspection of all elevated exterior elements including balconies, decks, and stairways. Book an inspection with Apex Balcony and get a clear, documented path from findings to repairs.